

1
Pick a preset background
Click Background (it shows the current background, e.g. “Beige studio”) to open Select Background — 24 preset locations spanning studio backdrops, European architecture, city streets, and interiors, filterable by Saved, All, or Personal.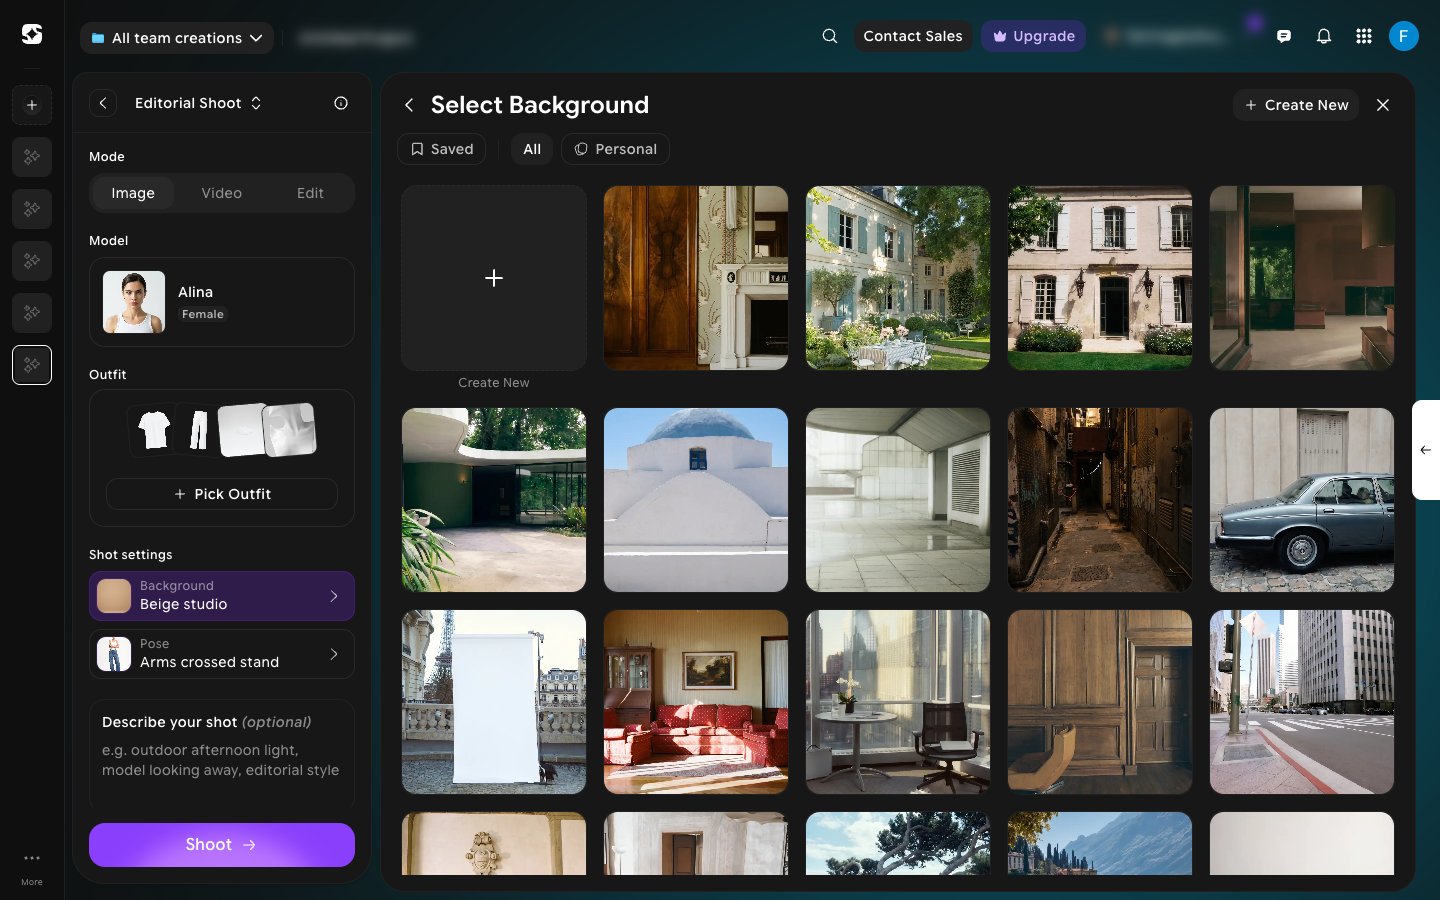
2
Use your own background
Click Create New to open Create your own background. You have three options: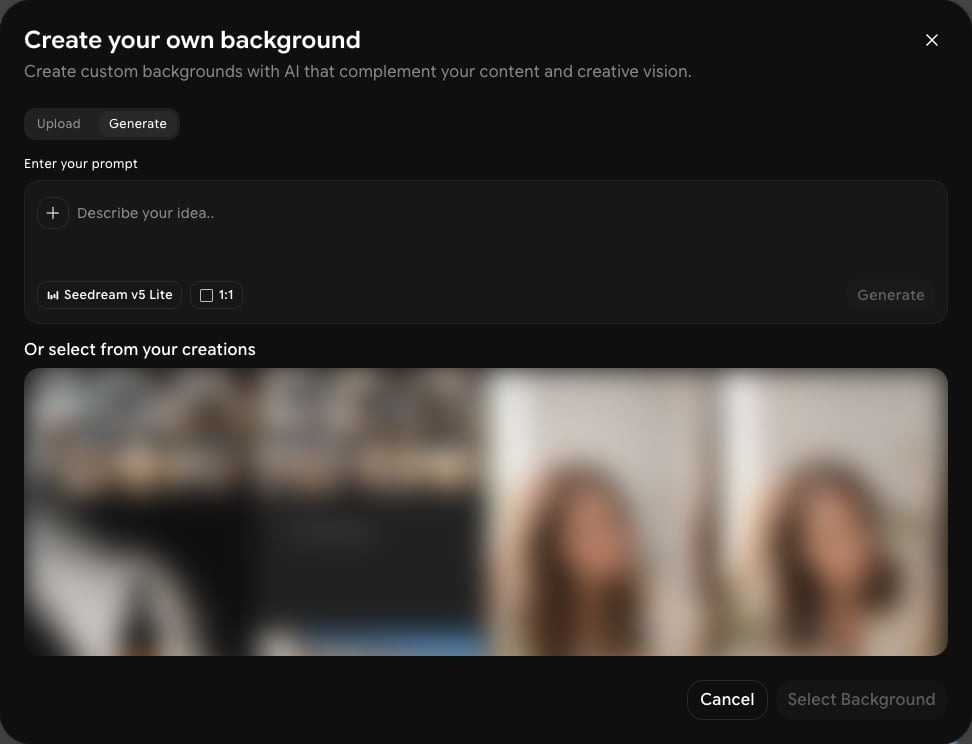
- Upload a photo of your own location (JPG, JPEG, PNG, or WEBP, up to 30MB).
- Generate one from a text prompt — describe the location, pick an image model and aspect ratio, and click Generate.
- Pick an image under Or select from your creations.
3
Pick a preset pose
Click Pose (it shows the current pose, e.g. “Arms crossed stand”) to open Select Pose — 92 preset poses covering standing, sitting, walking, and back-view shots, filterable by Saved, All, My poses, Female, or Male.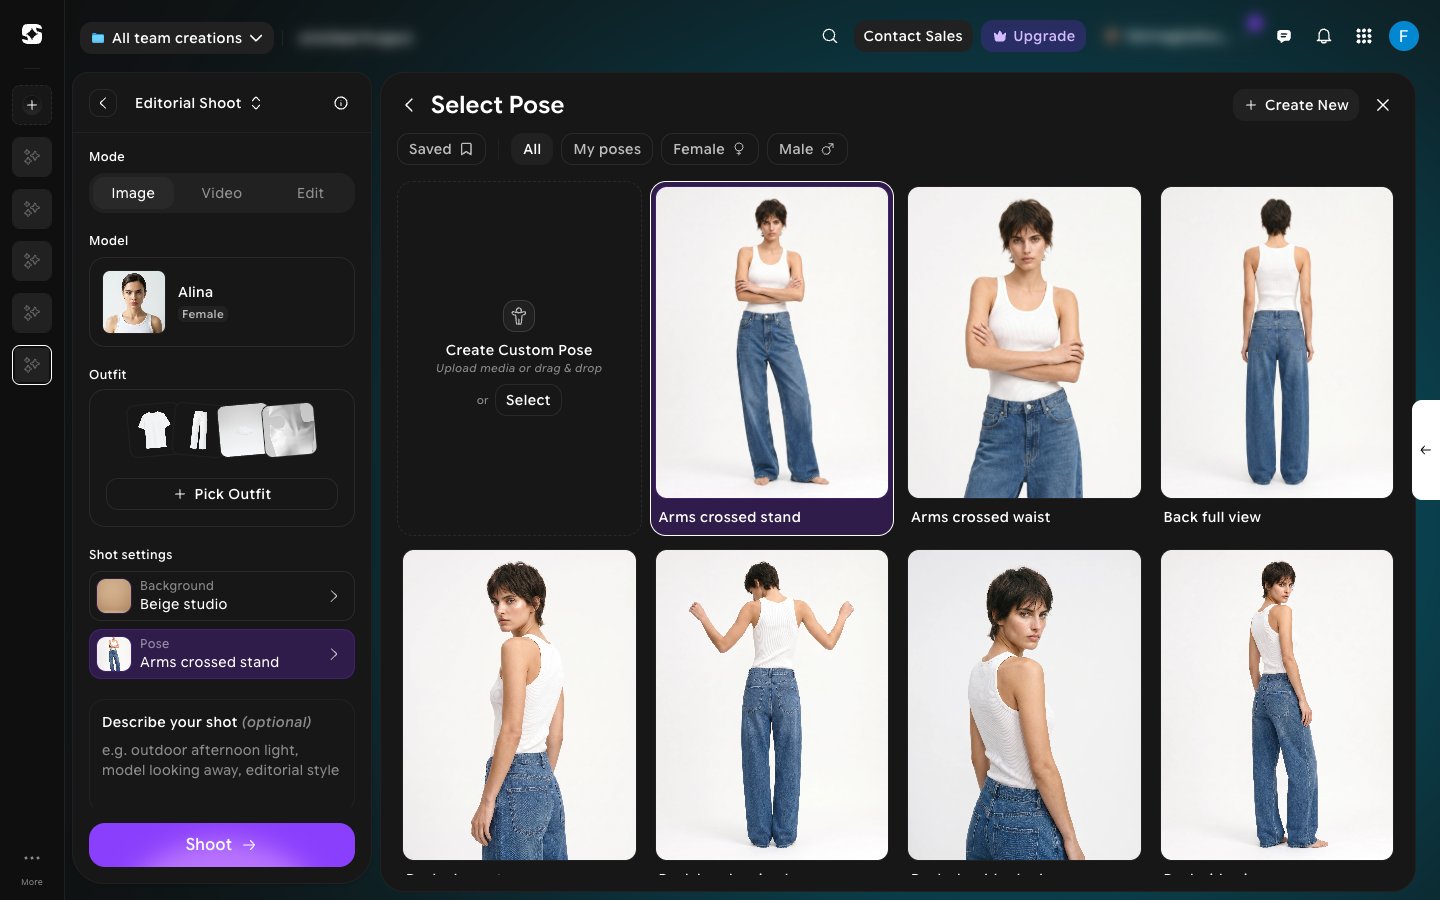
4
Replicate a pose from a reference photo
Click Create Custom Pose, the first tile in the grid (or Create New at the top of the panel), to upload a photo of the pose you want the model to replicate, or select one from your creations. Unlike backgrounds, poses are upload-only — there’s no option to generate a pose from a text description.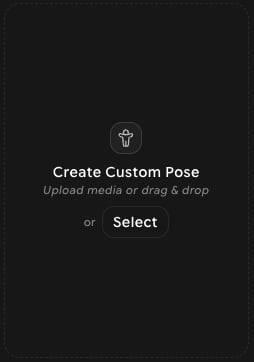
You can also add your own direction in the optional Describe your shot text field, right below Background and Pose.