1
Open the model picker
From the Editorial or Catalog Shoot editor, click the Model card (it shows your current model, e.g. “Alina”). This opens Select your model, filterable by Favorites, All, My models, Female, Male, or Non-binary, with a Search box for finding a specific model by name. You can also browse the same library from the My Models tab above the results.Hover over a model to see two more options: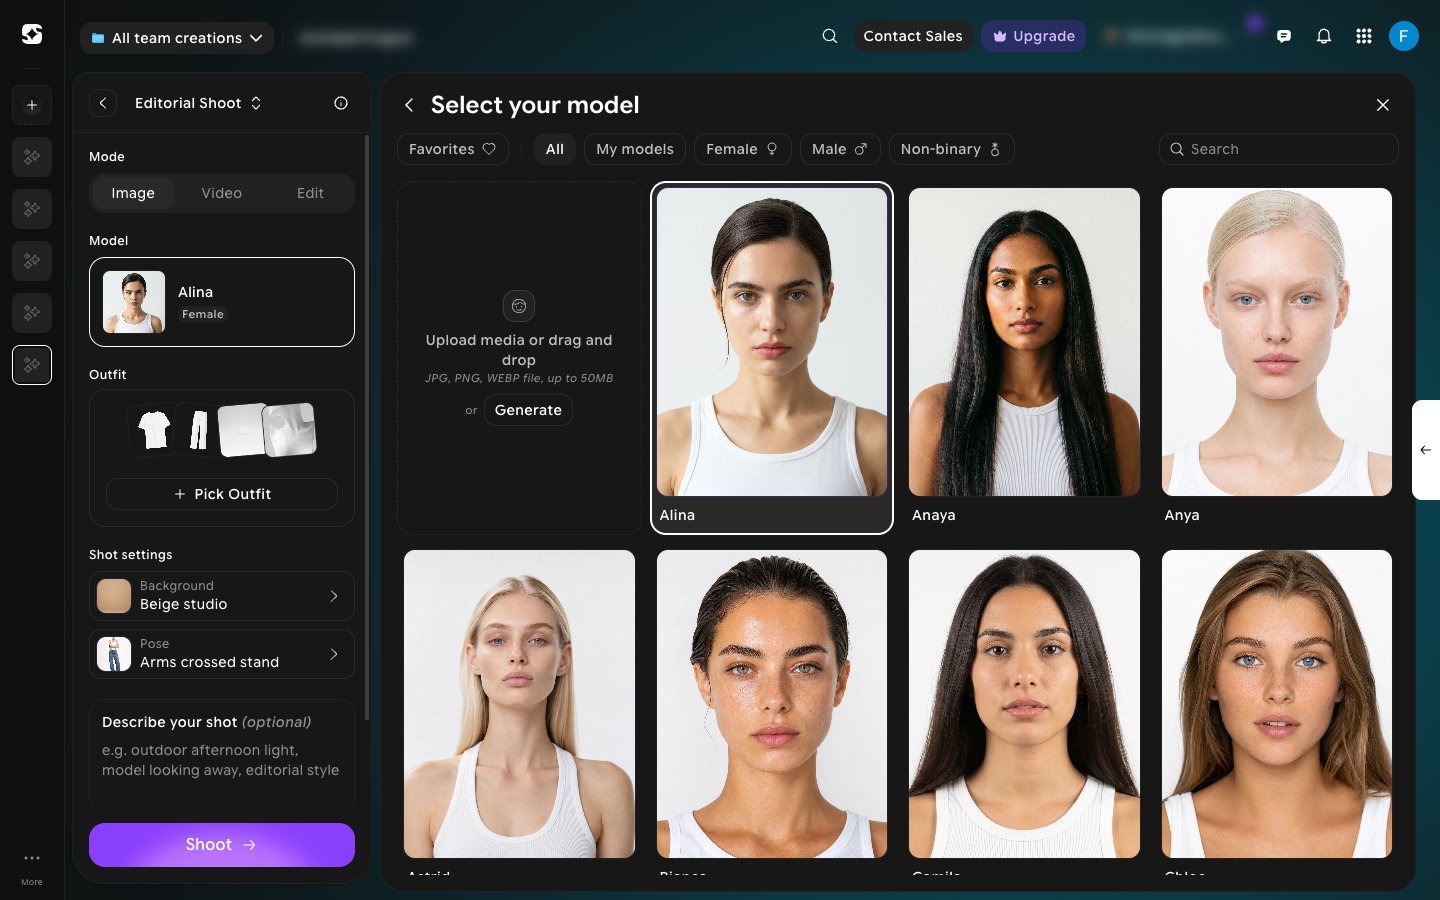
- See profile — opens the Model profile, with the model’s gender, body size, and reference images.
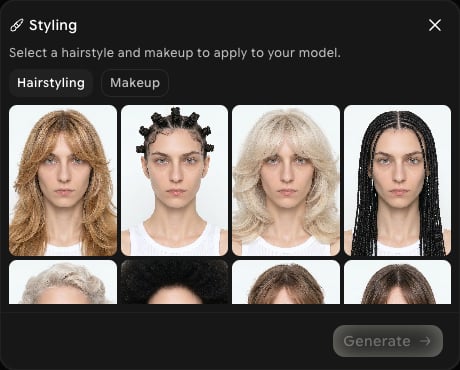
- Styling — change the model’s hairstyle or makeup (see the last step below).
2
Reuse a model you've created before
Click the My models filter to see only models you’ve previously generated or uploaded on this account, instead of the full preset library. If you haven’t created one yet, click New Model to make your first.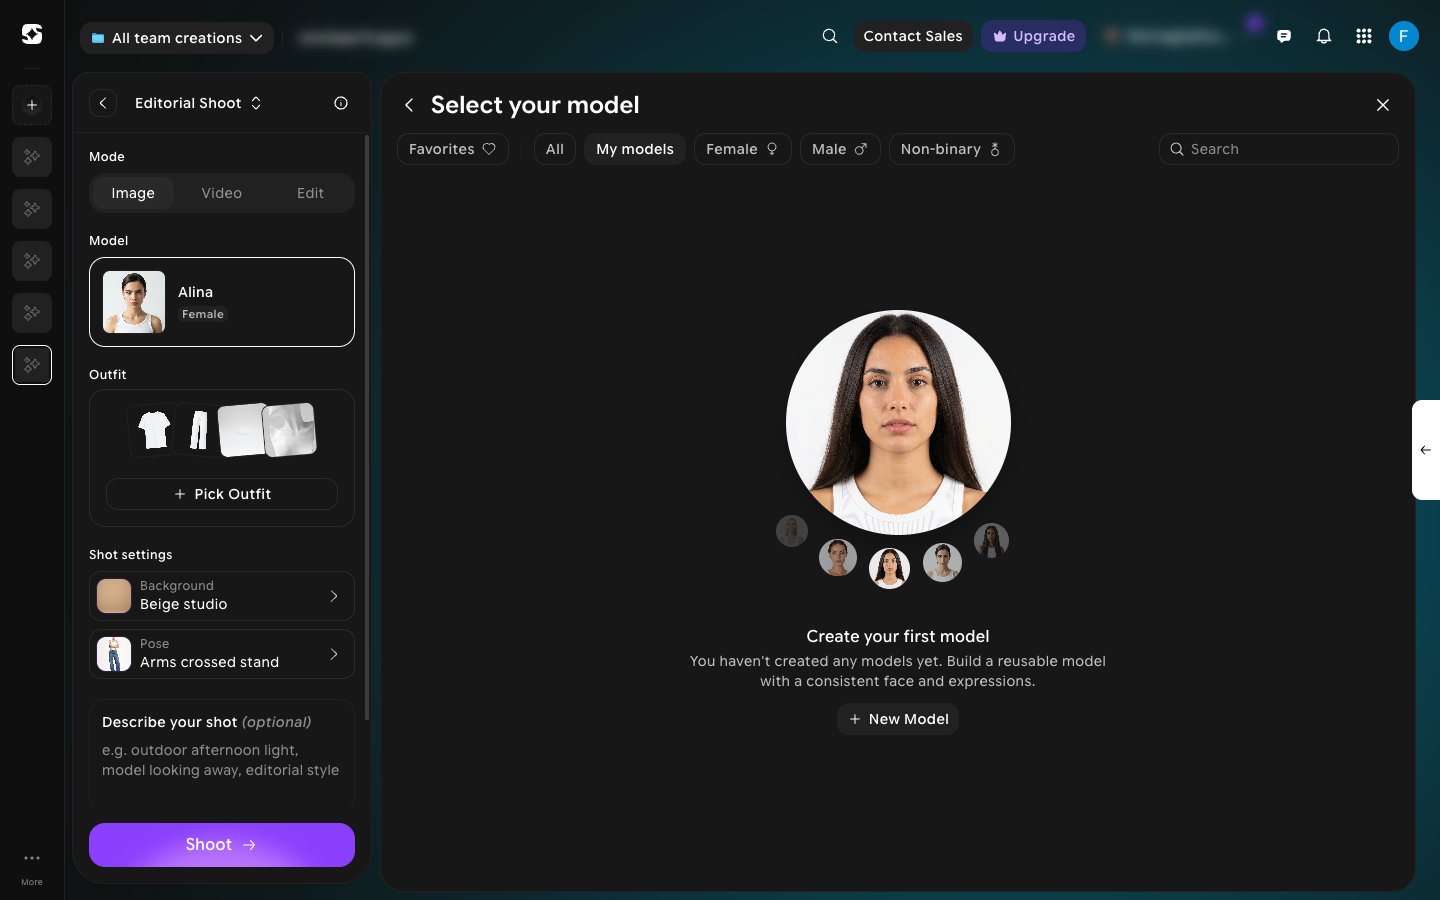
3
Create your own model
The first tile in the grid lets you add a new model. You can either: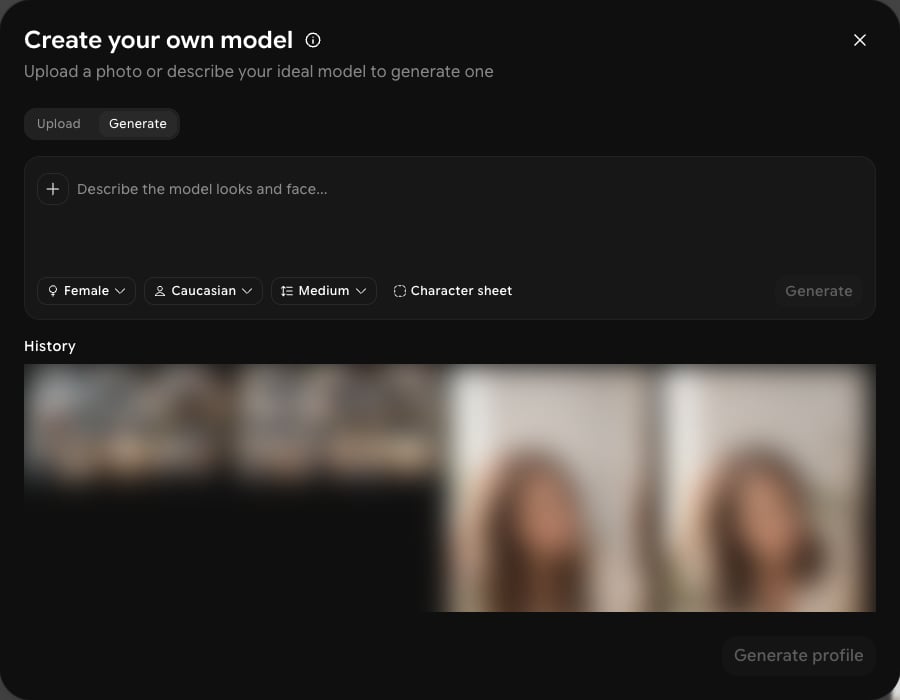
- Upload a reference photo of a real person to base the model on — drag and drop or click the tile (JPG, PNG, or WEBP, up to 50MB), or
- Click Generate to open Create your own model and describe the model’s looks and face, then narrow it down with gender (e.g. Female), ethnicity (e.g. Caucasian), and body size (e.g. Medium). Turning on Character sheet produces multiple consistent angles of the same model instead of a single image. Earlier attempts appear under History.
4
Restyle a model
Click Styling on a model card to open the Styling dialog. Choose a look from Hairstyling or Makeup, then click Generate to apply it to the model.