1
Open the Outfit panel
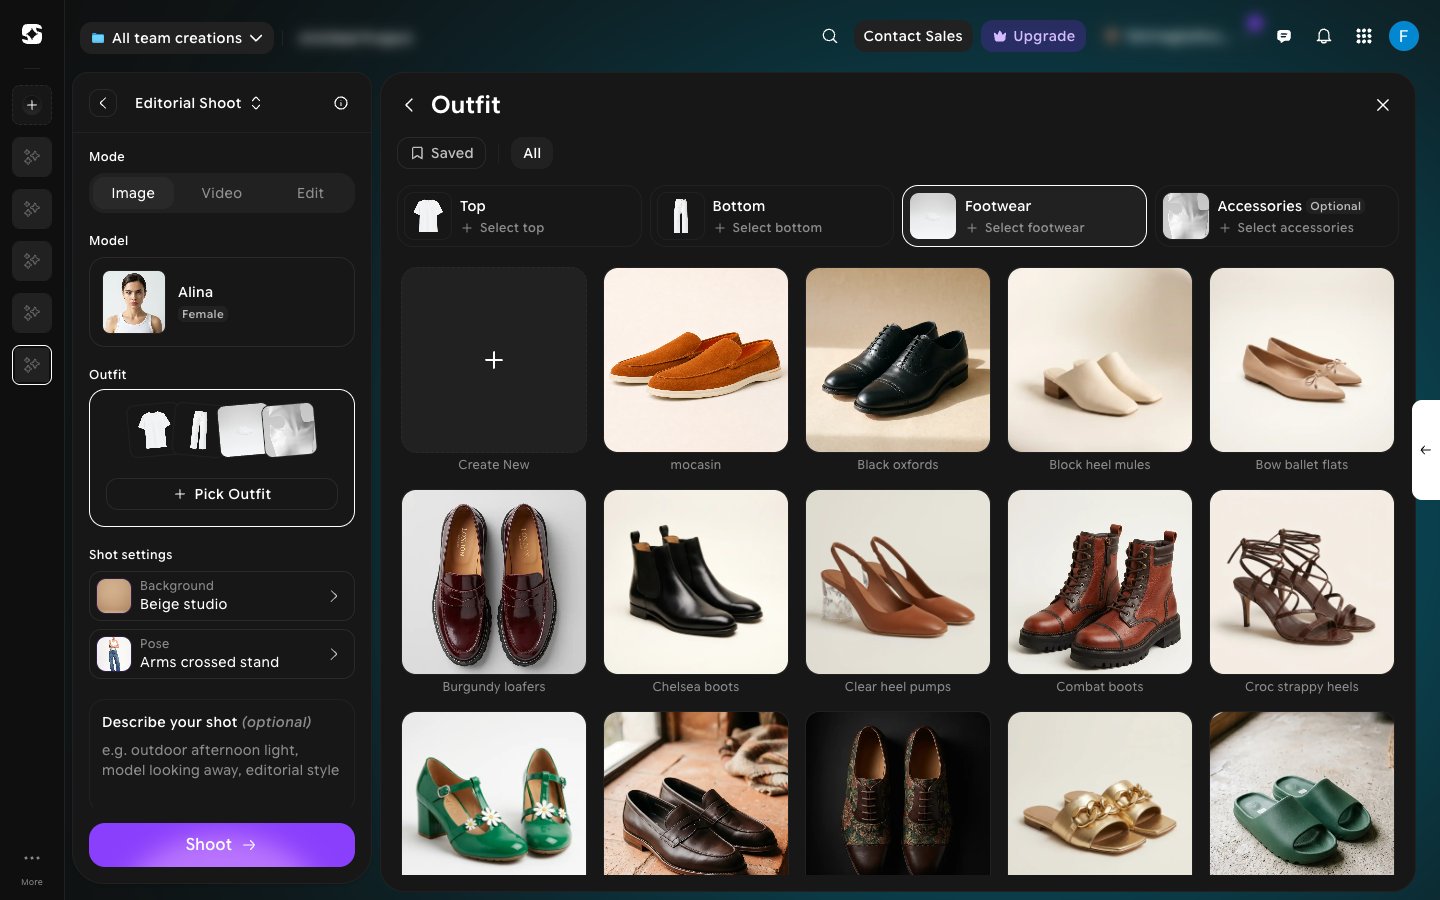
Under Outfit, click Pick Outfit. The Outfit panel opens with a slot for each part of the look: Top, Bottom, Footwear, and Accessories (optional). Click a slot, then click an item in the catalog below to fill it. Everything here is ready to use as-is — no upload required.When the Top slot is selected, you can narrow the catalog with All, Shirts & Tees, Knitwear, Outerwear, or One-Piece. Click Saved to see only items you’ve saved with the bookmark on each card.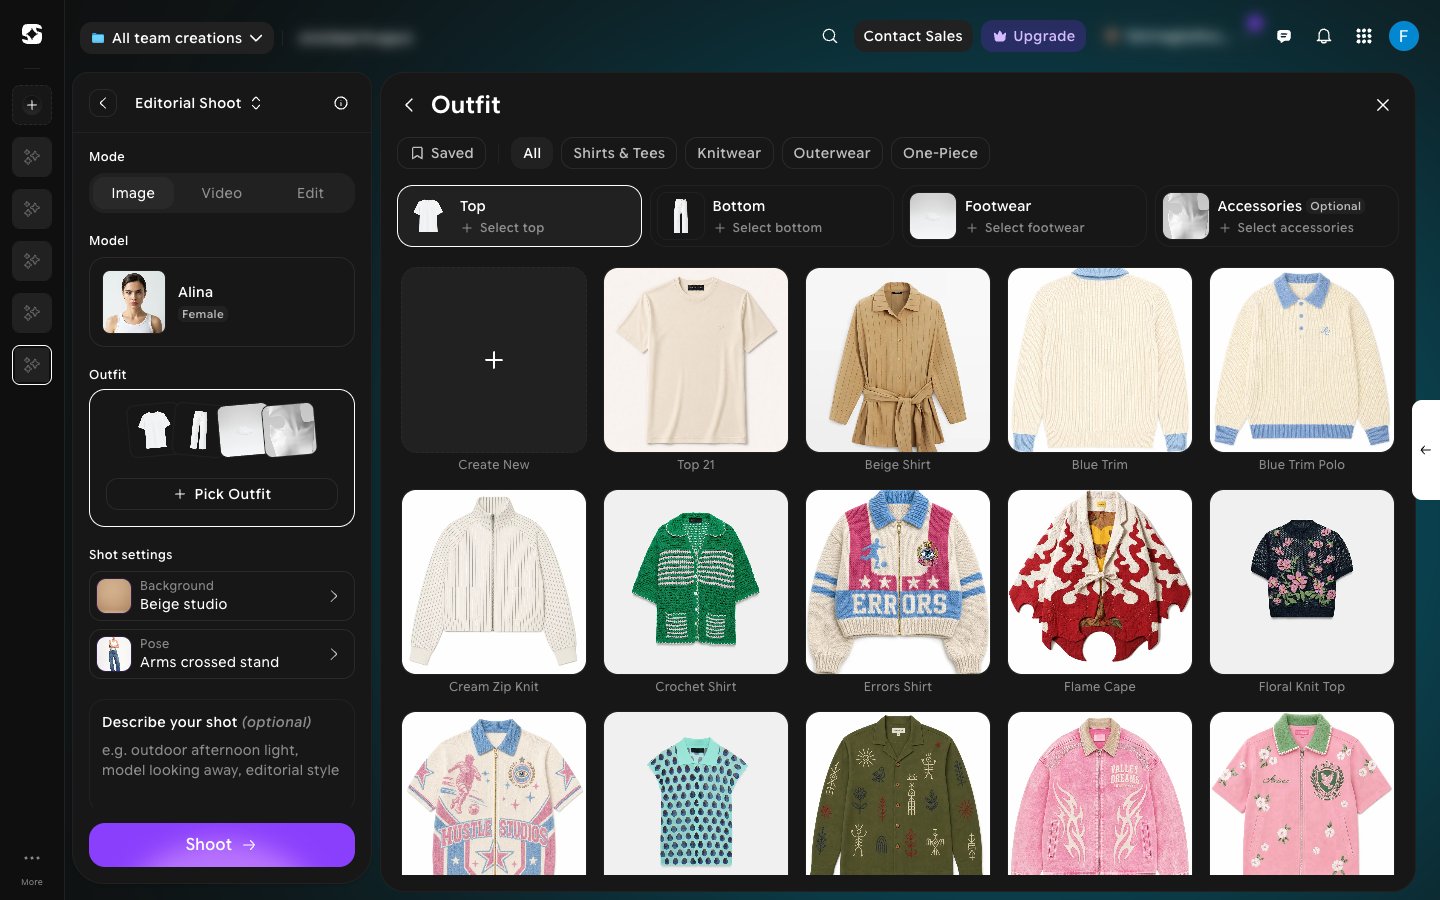
2
Upload your own garment
Click Create New, the first tile in the catalog, to add a garment that isn’t in the preset library. For a top, choose Shirt or Dress, then upload clear-background Front and Back photos of the item (an optional Fabric & print details photo helps with texture). Auto cutout is on by default, so you don’t need to pre-mask the photos yourself.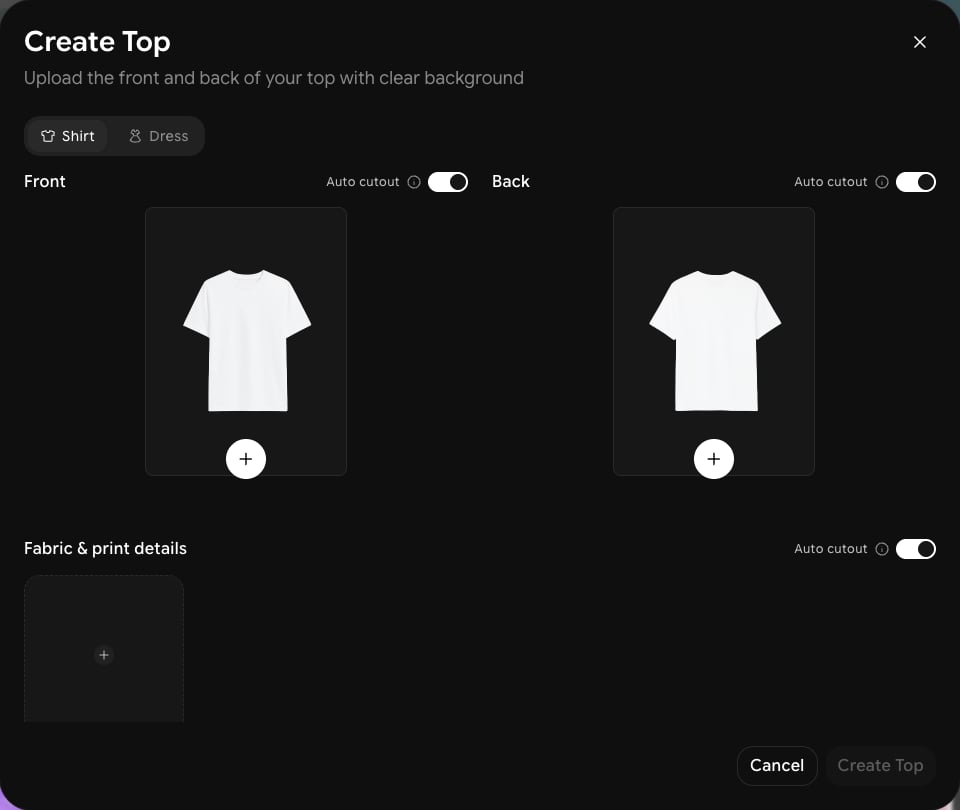
3
Add footwear and accessories
Click the Footwear or Accessories slot in the same panel to switch the catalog to shoes or accessories. Each has its own preset library, plus Saved and Create New for adding your own item. Accessories is optional; leave it empty if the shot doesn’t need any.