

The home
When you open Ad Studio, you land on the home. It’s built to get you to your first ad quickly, with everything stacked in one scrolling page:1 · Featured ads
A carousel of example ads at the top, each labeled with its format (for example, Football TVC or Pro Virtual Try ON).
2 · Recent Projects
Create new project plus your latest projects. See all opens the full project list.
3 · Tools
Entry points for Image Ads, Video Ads, URL to Ad, Motion Design, and Ad Reference.
4 · Start from preset
A searchable gallery of ready-made looks to recreate.
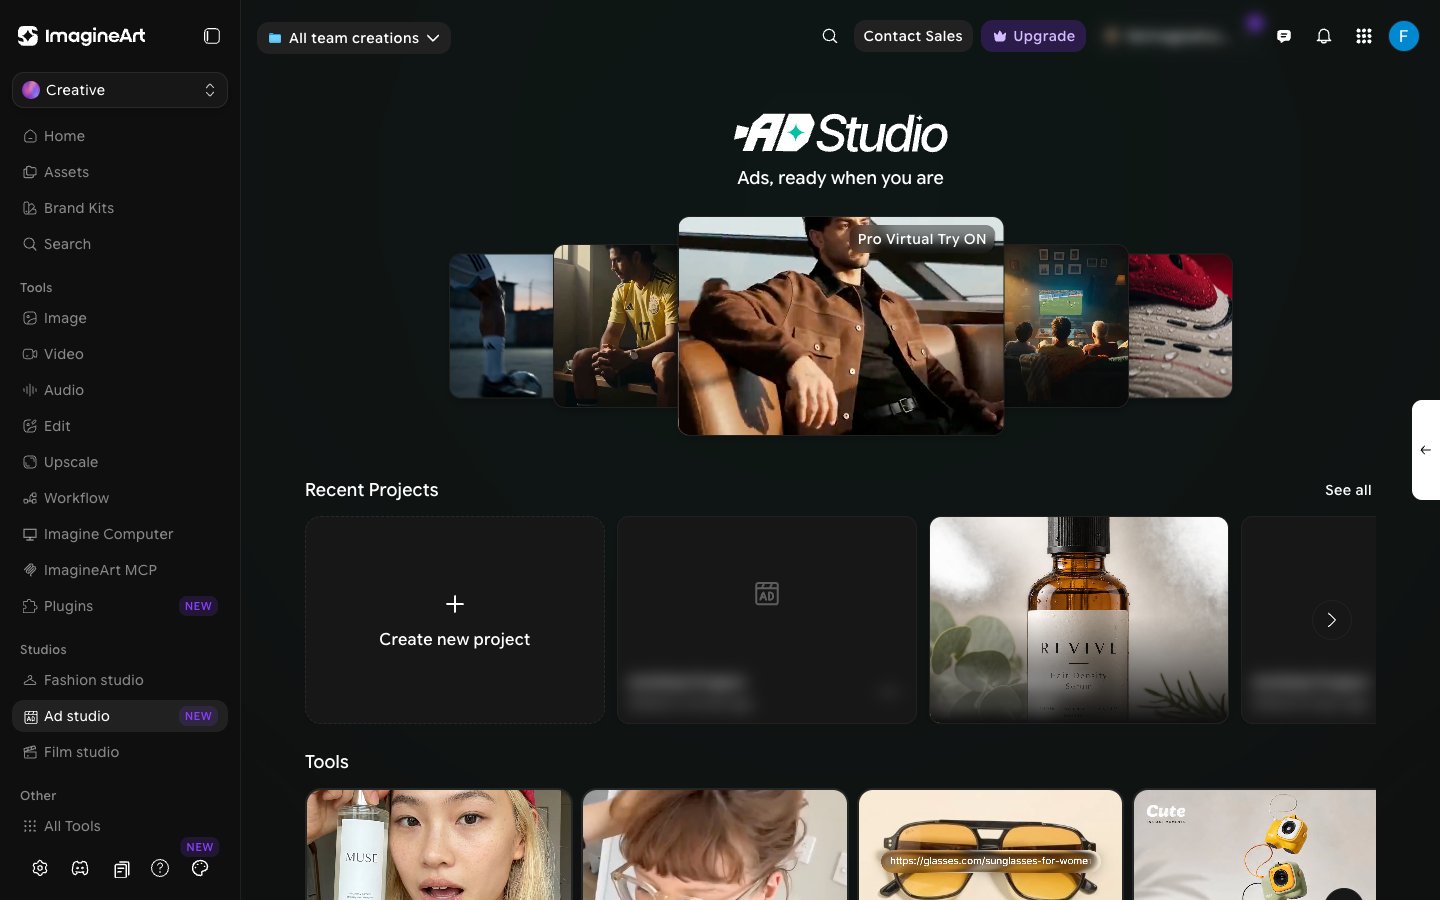
Recent Projects
Every ad you build lives inside a project. Click Create new project to start one, or click a project card to reopen it. Use the arrow at the end of the row to scroll through more projects, or click See all to open All Projects, where you can search projects and sort them (Newest First by default).Tools
The Tools row has one card per way to start an ad:- Image Ads — pick a product to generate a static image ad.
- Video Ads — pick a product to generate a quick video ad.
- URL to Ad — add a URL, select a format, and create a video.
- Motion Design — create product ads with motion graphics, as a storyboard of independently editable scenes.
- Ad Reference — take a viral ad and add your product to it.
Start from preset
Below Tools is a gallery of presets that double as inspiration and a quick start. Filter it by category — Lifestyle UGC, Motion Studio, Creative Studio, TVC, Environments, and Cinematic — search it with Search presets, or use the All dropdown to show only Image or Video presets. Each preset has a Recreate button.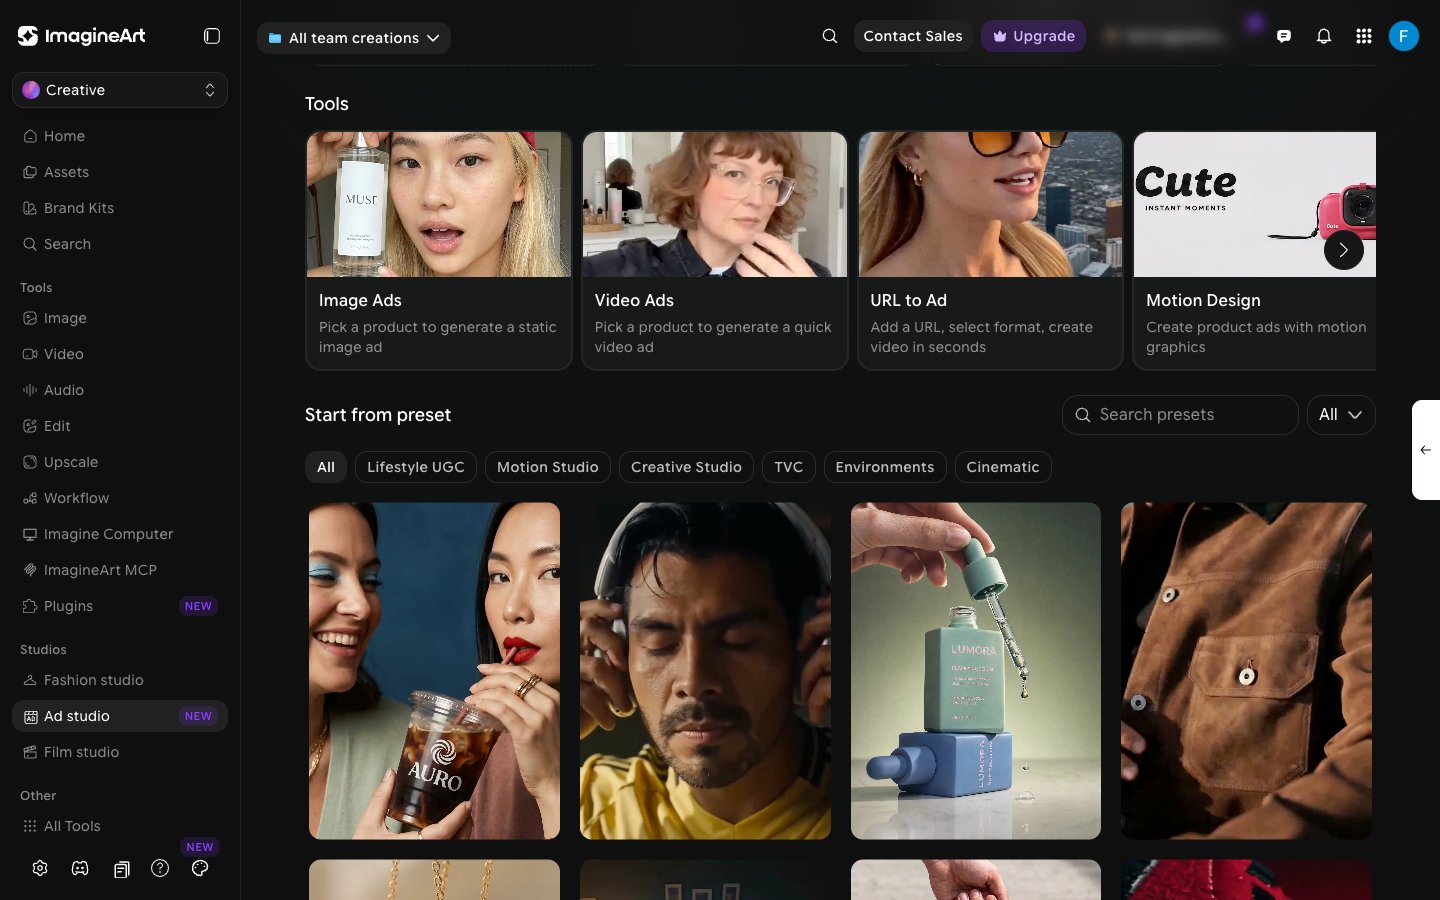
The project workspace
Opening a project switches to the project workspace, which has its own Ad Studio sidebar next to the main app navigation. This sidebar lists the Tools (URL to Ad, Motion Design, Ad Reference) and your Projects, with a search box and a + button to start another project. The center shows the control panel, built around a set of cards: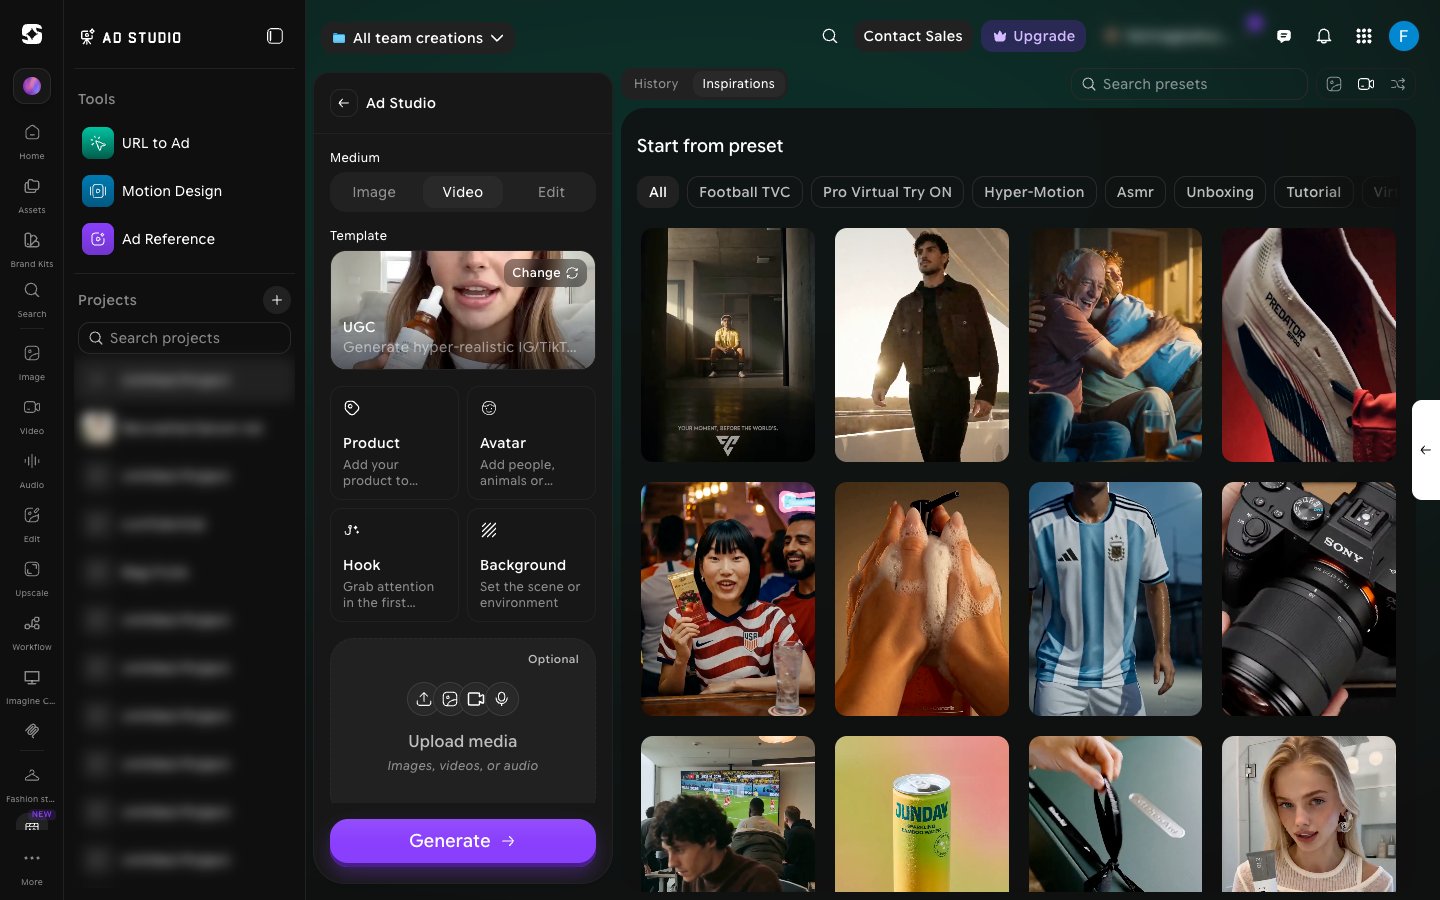
- Medium. Switches the whole panel between Image, Video, and Edit. Edit replaces the cards with an upload area for an image you want to edit.
- Template. Shows your currently selected format, with a Change button to switch between the 8 real ad formats.
- Product. Add the product that will be featured.
- Avatar. Add the person, animal, or mascot who appears in the ad.
- Hook. Pick from a library of named hook effects, filterable by Stunt, Subtle, and seasonal categories.
- Background. Choose where the ad takes place.
- Describe your advertisement (optional). Free text for anything the cards above don’t cover. Use the @ symbol to pull in specific products or avatars by name.
- Output pills. Aspect ratio, quality, and duration, shown as three separate pills below the description field.
- Generate. The big purple button that generates your ad.
The top bar
Project navigation, search, contact sales, plan upgrades, notifications, and your profile menu. Standard top-bar functionality — nothing creative happens here.Try this — Before you read further, open a project in Ad Studio and click each of the control cards (Template, Hook, Background) plus the output pills below the description field. Just notice what options appear — you’ll get more from the next sections if you’ve already seen the menus.