

Step 1 — Open Ad Studio
1
Open your browser
Open your browser and go to imagine.art/ad-studio.
2
Sign in
Sign in if you are not already logged in.
3
Land on the home view
You’ll land on the Ad Studio home. It has a carousel of featured ads at the top, then your Recent Projects, a row of Tools, and a Start from preset gallery.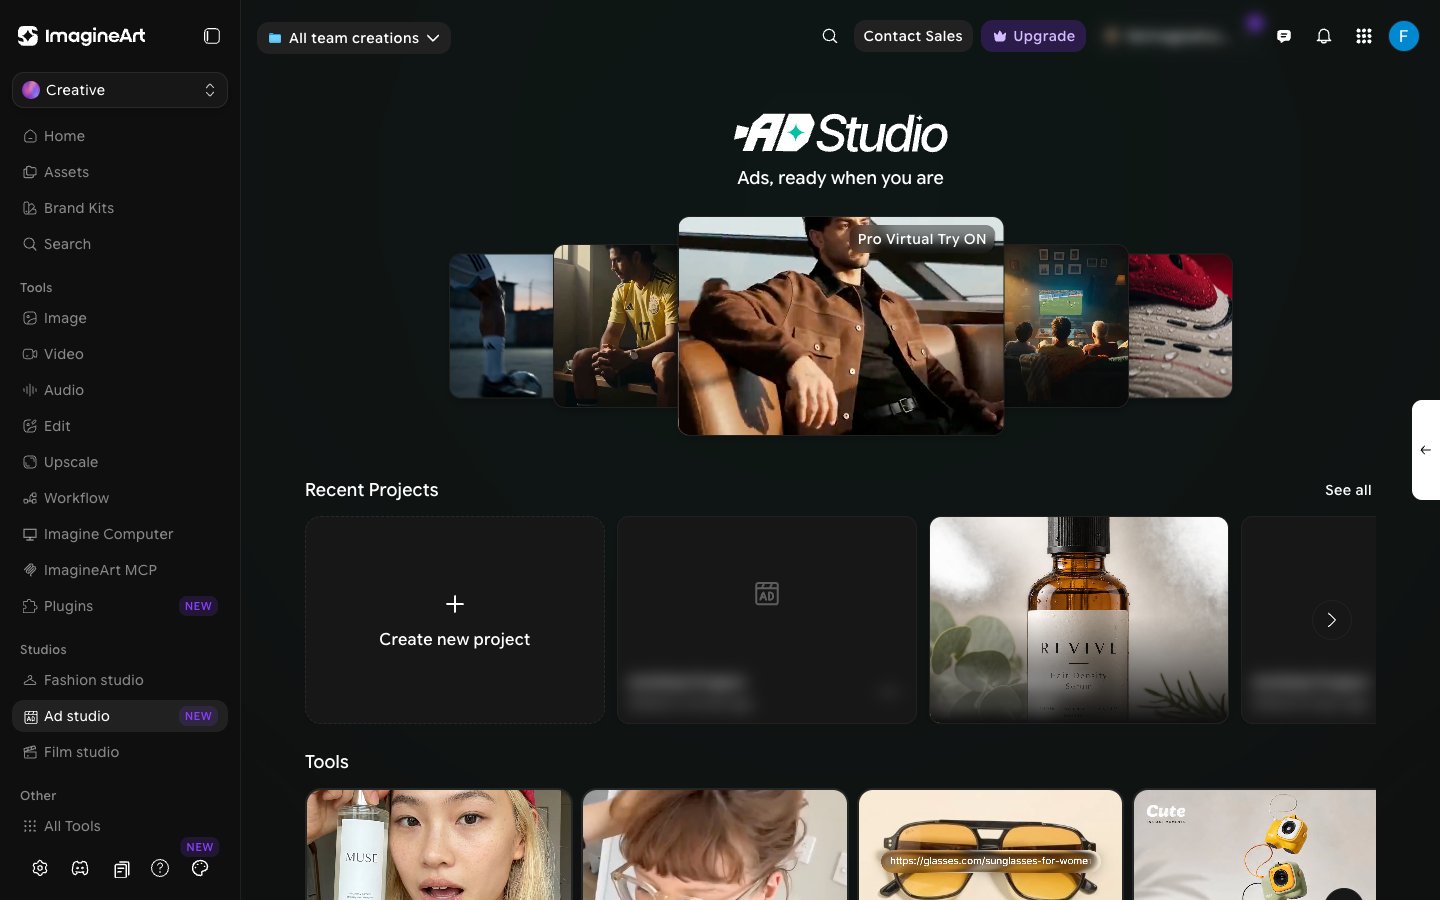
Step 2 — Start a new project
1
Create a project
Under Recent Projects, click Create new project. A new project is created immediately — there’s no separate naming step first. Click See all to open the full All Projects list, where you can search projects and sort them.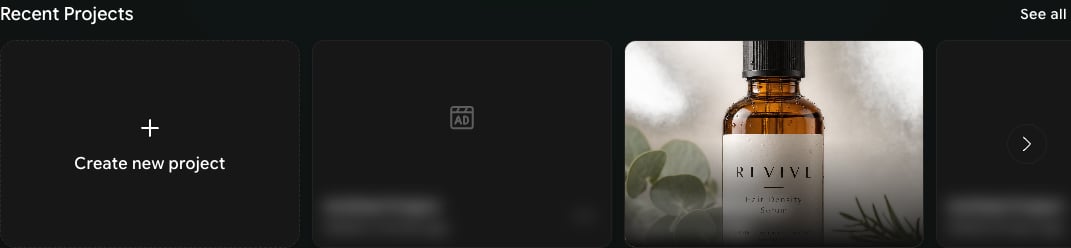
2
Rename it
New projects start out as “Untitled Project.” Rename it to something descriptive (for example, “Skincare Q4 Launch”) once you’re inside it.
Step 3 — Pick your starting point
Ad Studio gives you several ways to begin. The Tools row on the home page has a card for each one: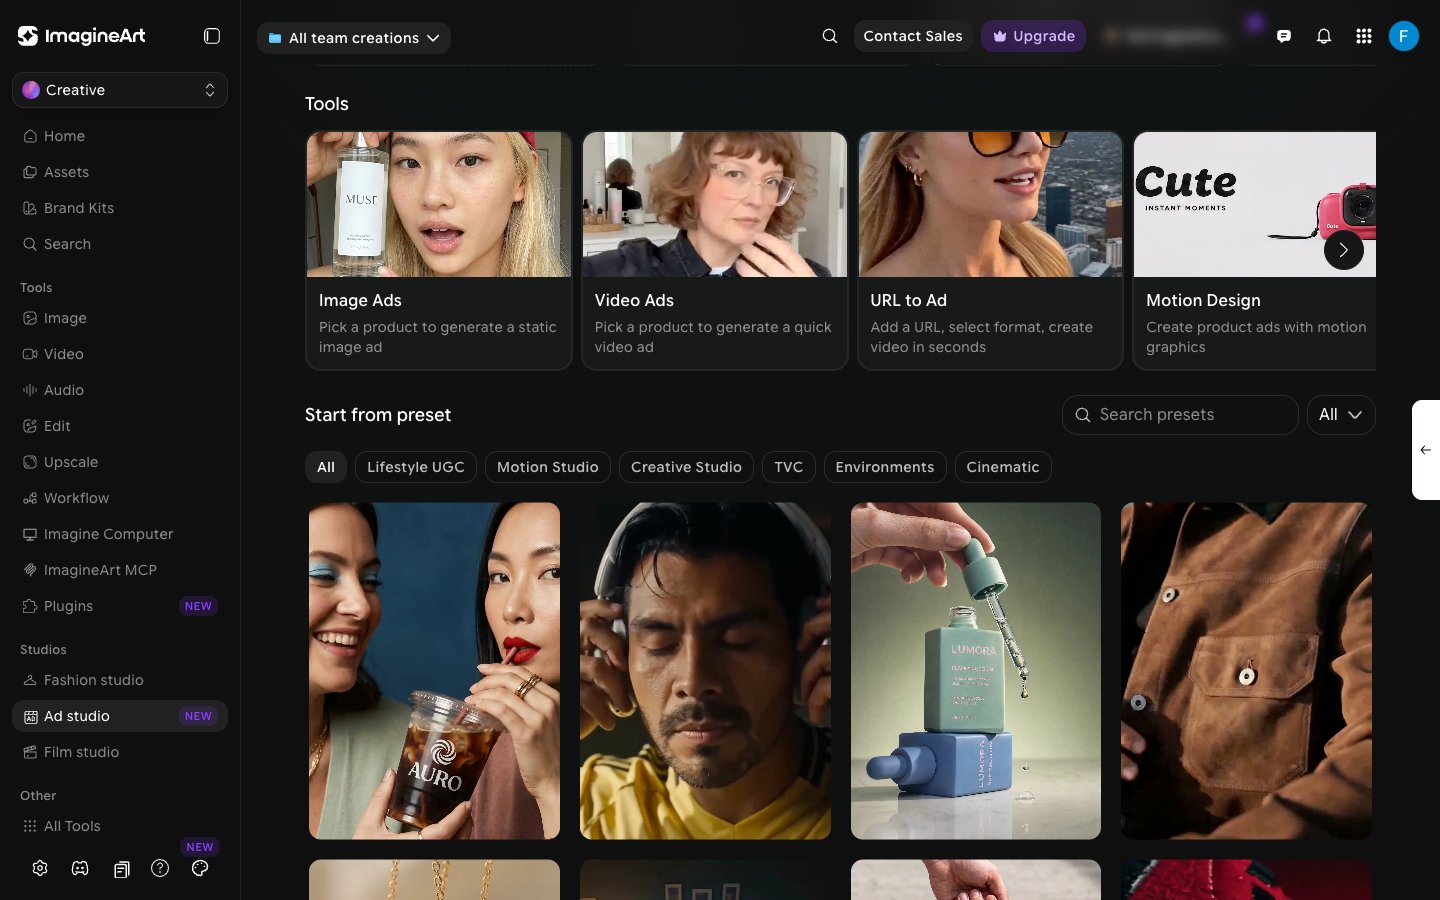
- Image Ads and Video Ads. Open a new project with the control panel already set to image or video output. Pick a product and generate. Best for: when you know which output you want and want to set it up yourself.
- URL to Ad. You have a live product page. Click URL to Ad, paste the link, pick a style, and generate. Best for: e-commerce sellers with existing product pages.
- Motion Design. Same product picker as URL to Ad, but generates a storyboard of independently editable scenes instead of a single clip — see Motion Design.
- Ad Reference. You’ve seen a viral ad that’s clearly working and want that energy for your own product — see Ad Reference. Use the arrow on the Tools row to scroll to it.
- Start from preset. Browse the preset gallery below Tools and click Recreate on a look you like.
- Build from scratch. You work directly in the main control panel — Template, Product, Avatar, Hook, and Background cards. Best for: full creative control, or when you don’t have a product page yet.