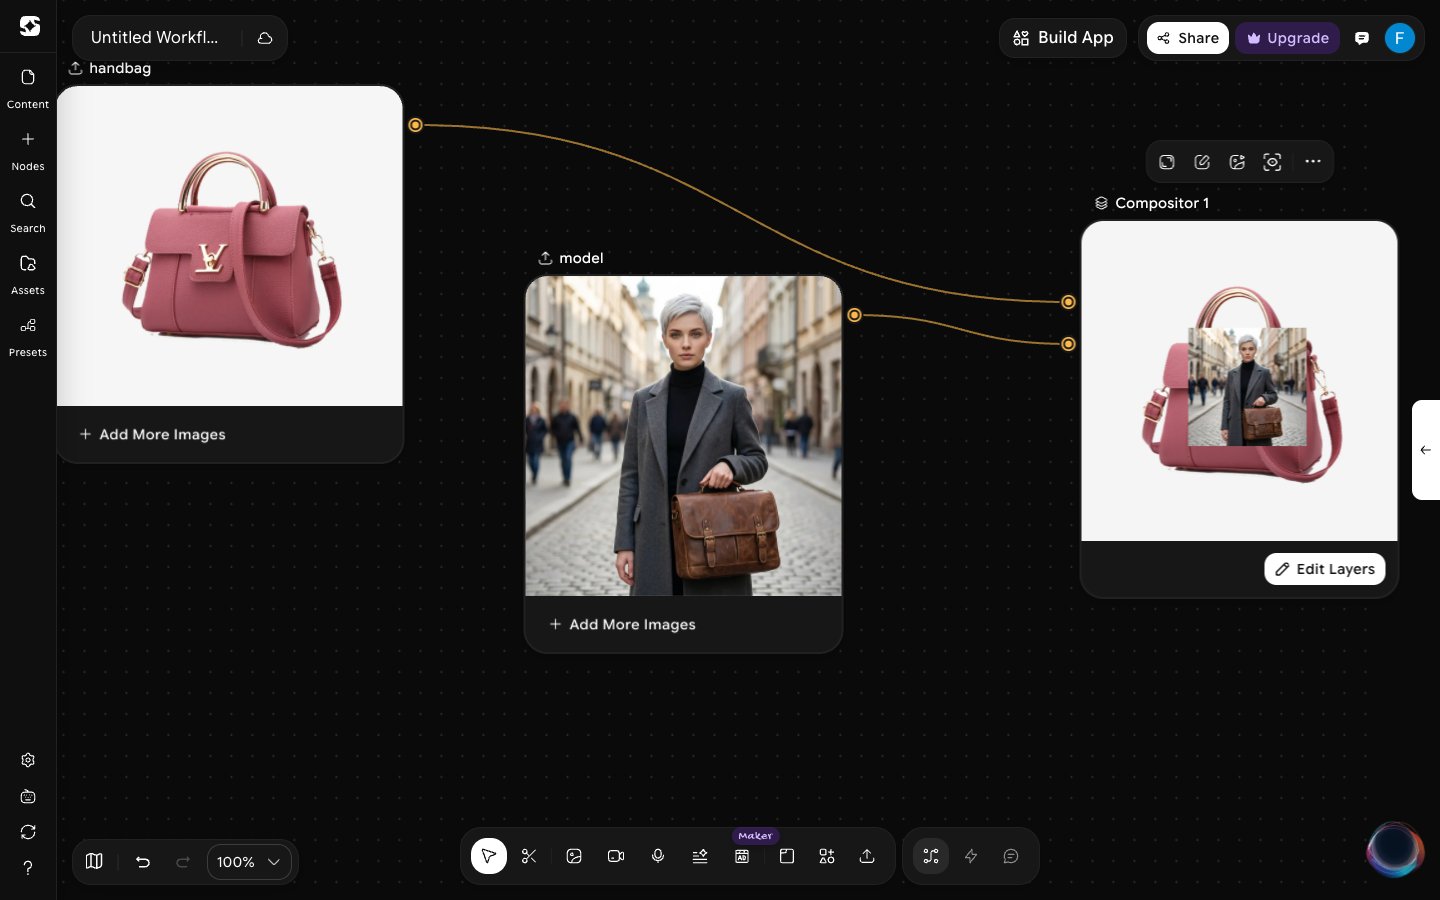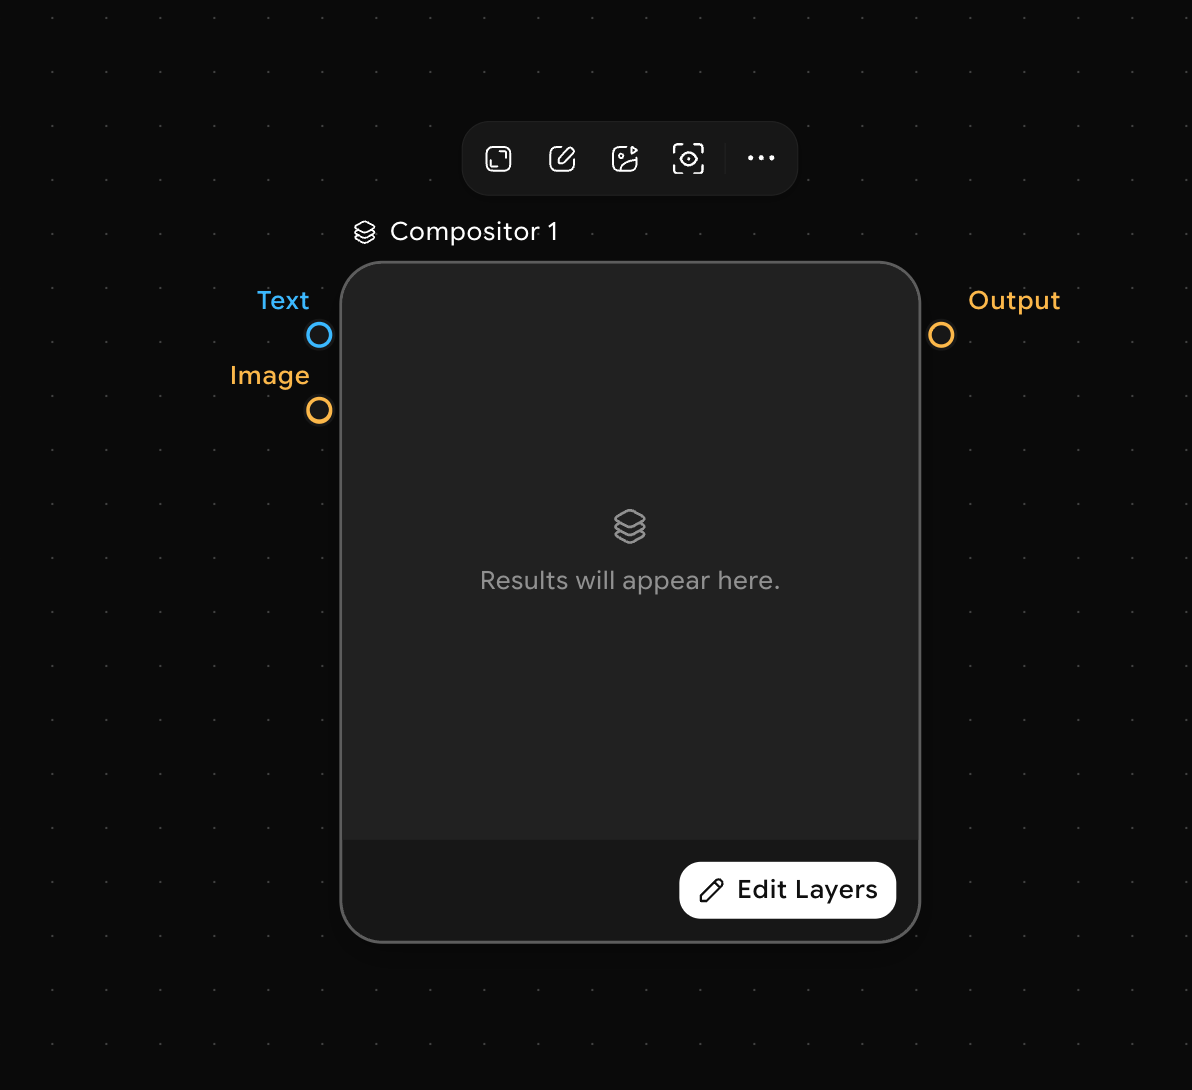
How to use the Compositor node
1
Add the Compositor node
Right-click on the canvas to open the node picker and search for Compositor. Click to place it.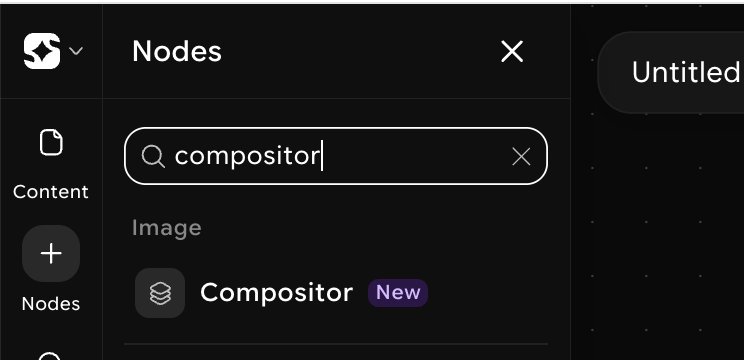
2
Connect your inputs
Connect the output handles of your image nodes to the Image input on the Compositor. Each time you connect an image, a new slot (Image 1, Image 2, Image 3, and so on) appears for the next one. Each connected image becomes a separate layer.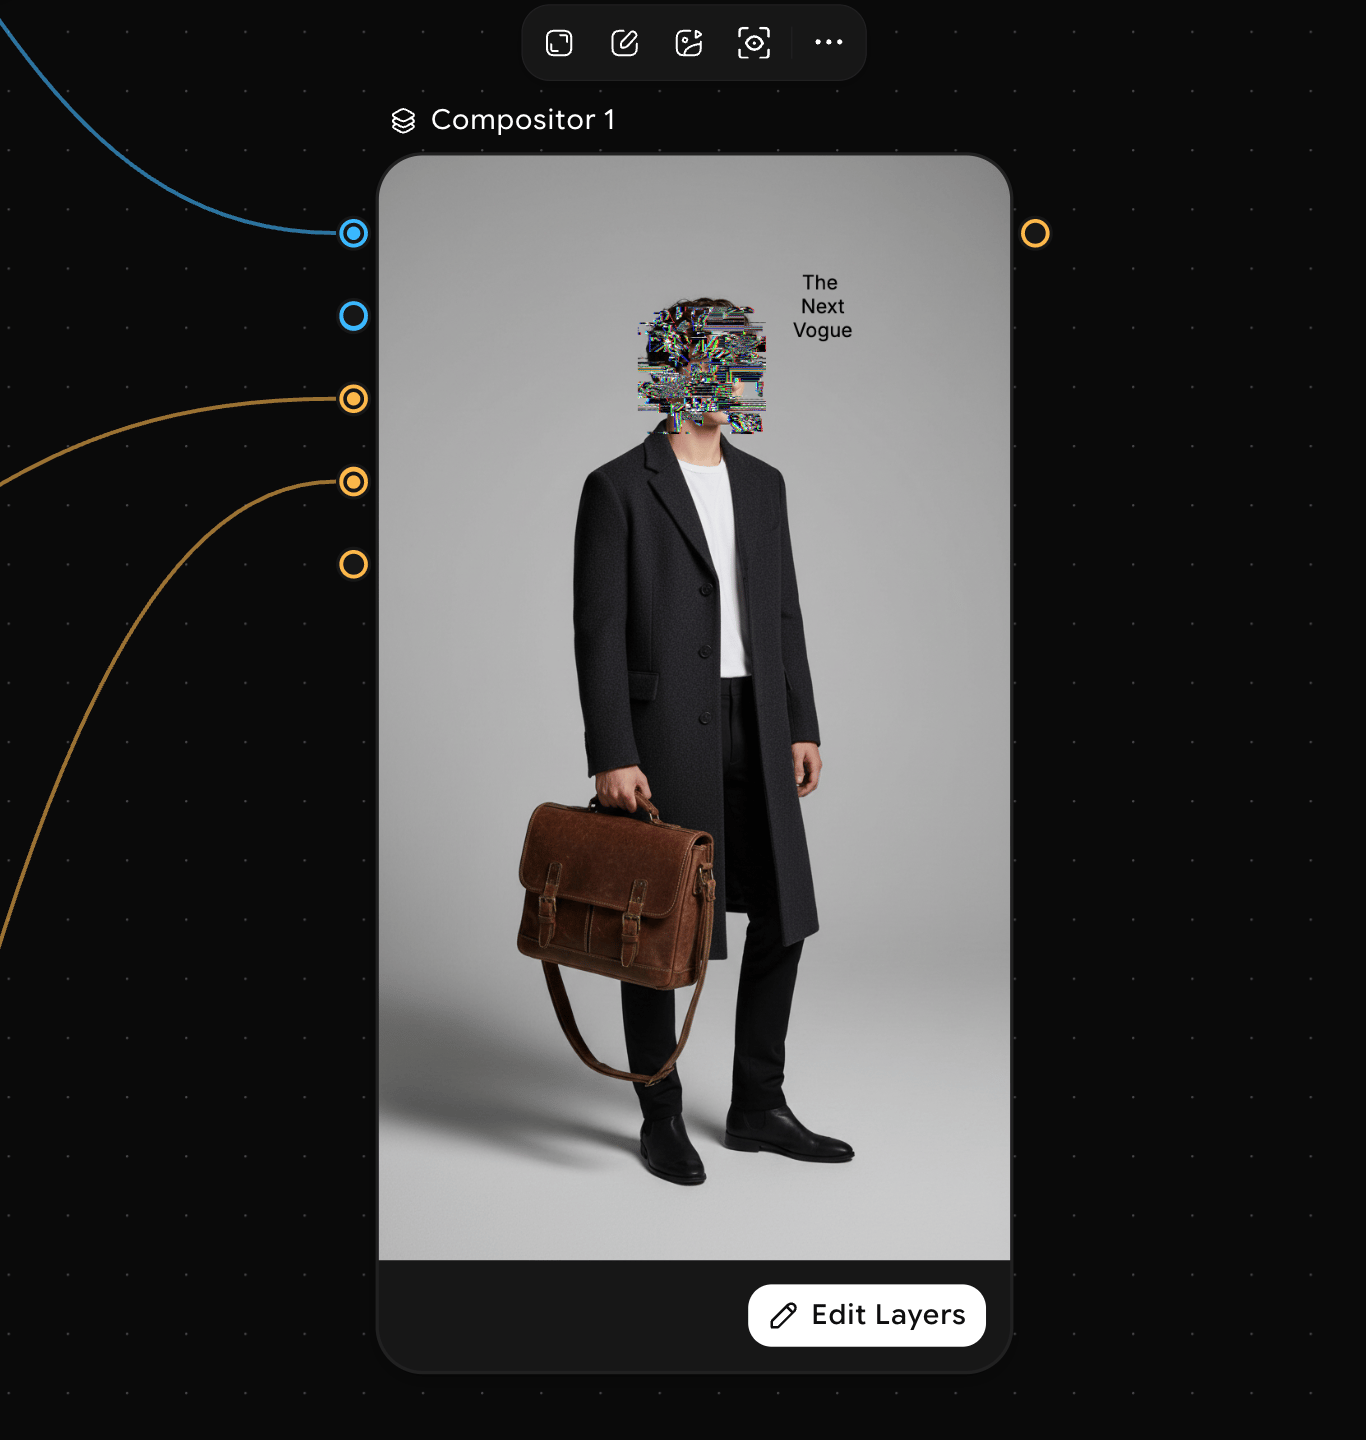
3
Configure layering
Click Edit Layers on the node to open the layer editor. Select a layer in the Layers list to set its Position, Dimension, Rotation, Opacity, and Blend Modes in the right panel. Drag layers up or down in the list to change their stacking order.Select Artboard to set the output dimensions, artboard size, and background color.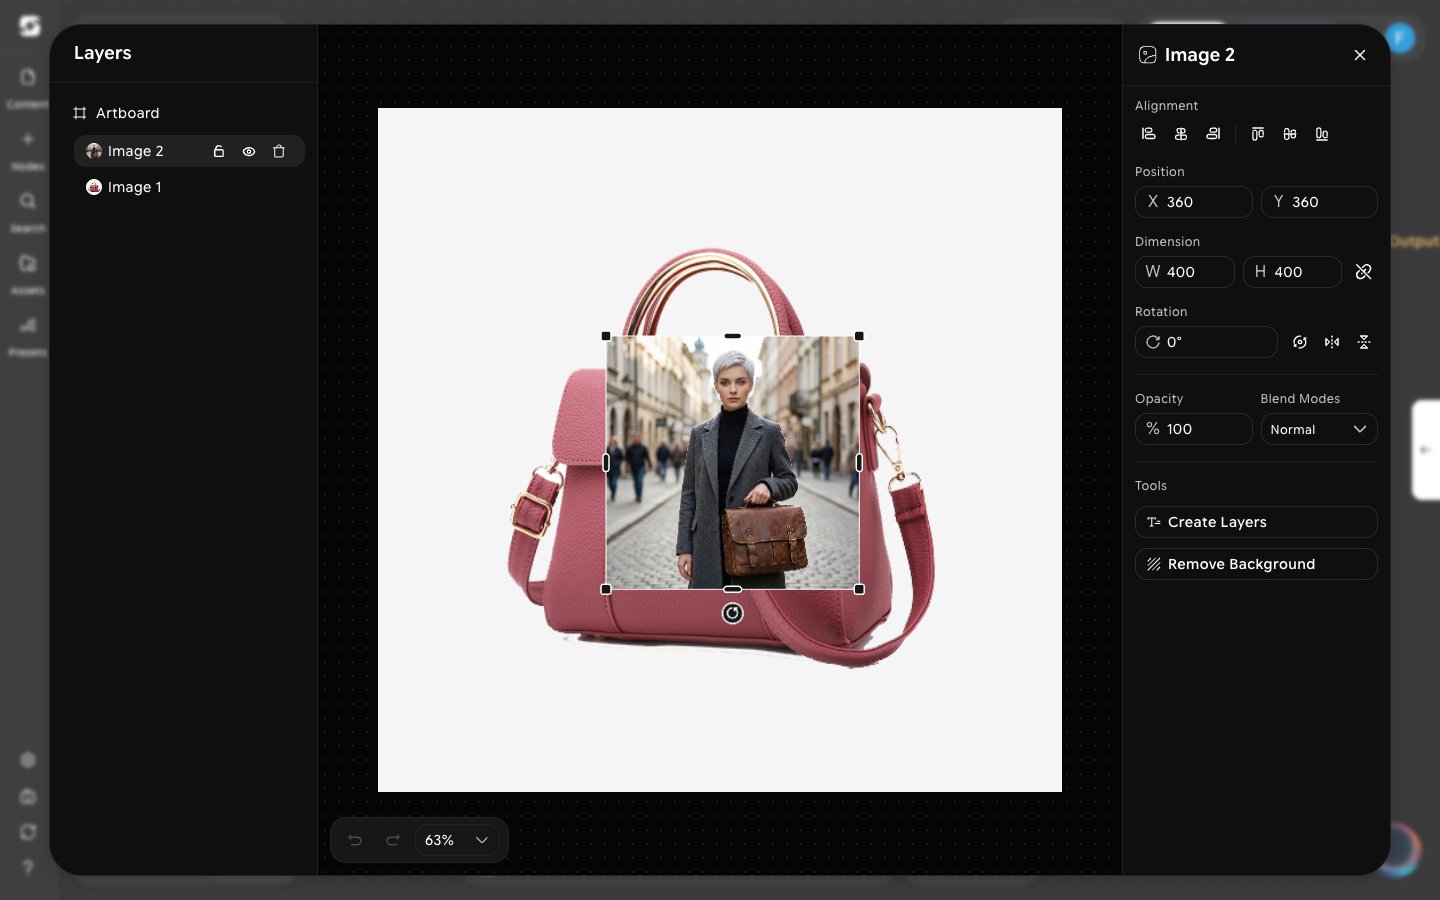
4
Connect the output
Connect the Compositor’s output handle to any downstream node that accepts an image, including another Compositor for more complex compositions.
5
Preview the result
The Compositor has no Run button. Its preview updates live as you connect inputs or change layers, so the node always shows the current composited output.