> ## Documentation Index
> Fetch the complete documentation index at: https://docs.imagine.art/llms.txt
> Use this file to discover all available pages before exploring further.
# Compositor
> Combine and layer multiple inputs directly on the Workflows canvas.
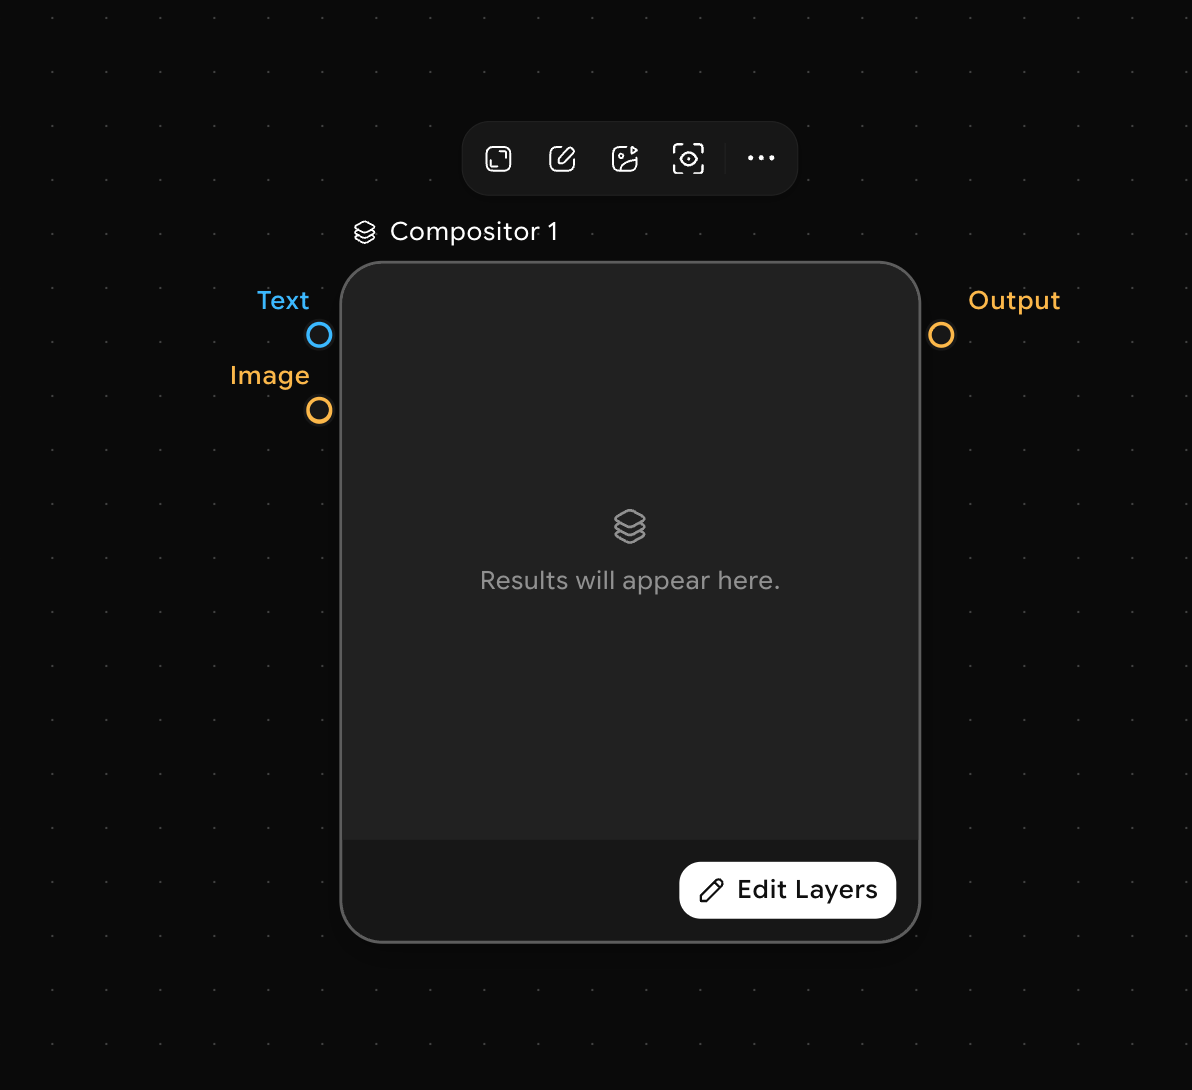
The **Compositor** node lets you merge and layer multiple images into a single composited output, directly inside the Workflows canvas. No external tools needed.
 ## How to use the Compositor node
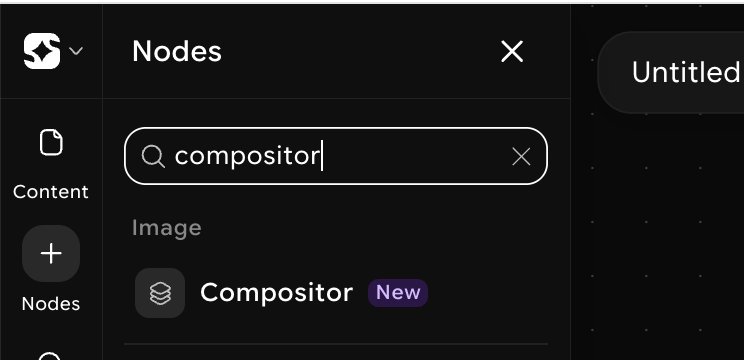
Right-click on the canvas to open the node picker and search for **Compositor**. Click to place it.
## How to use the Compositor node
Right-click on the canvas to open the node picker and search for **Compositor**. Click to place it.
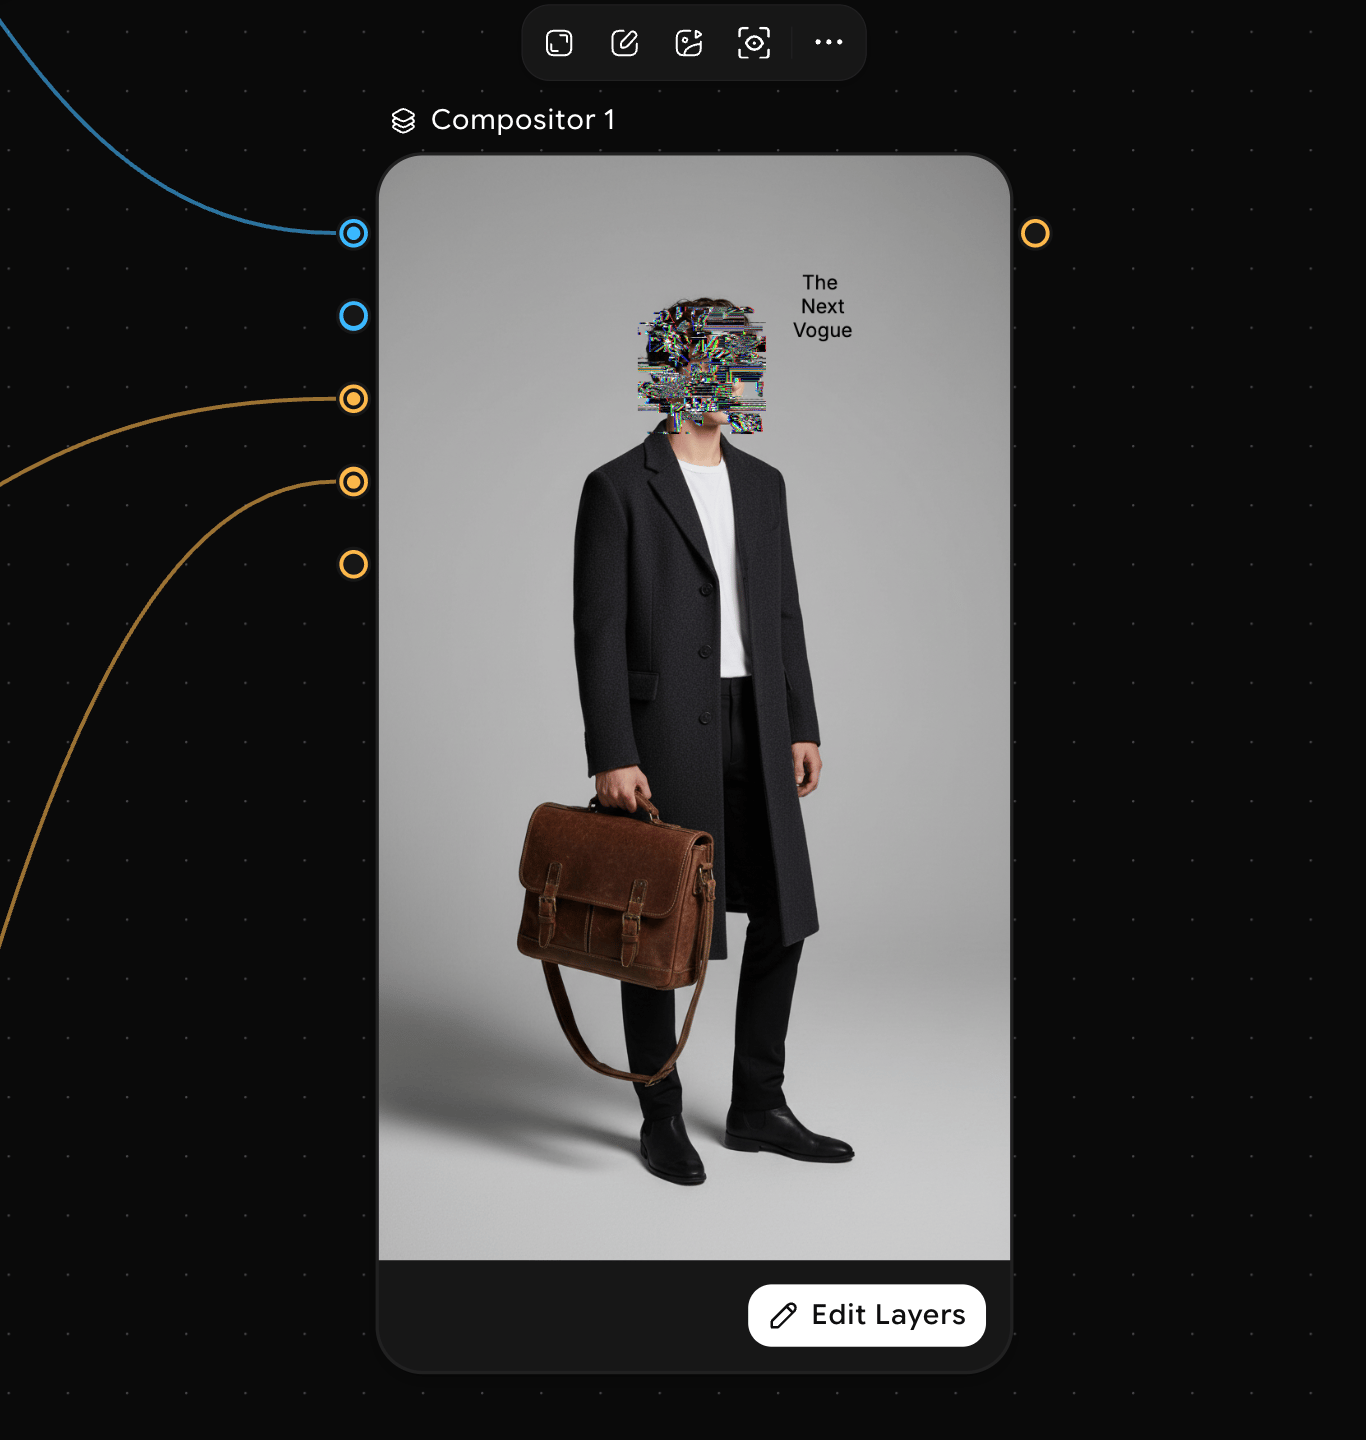
 Connect the output handles of your image nodes to the **Image** input on the Compositor. Each time you connect an image, a new slot (**Image 1**, **Image 2**, **Image 3**, and so on) appears for the next one. Each connected image becomes a separate layer.
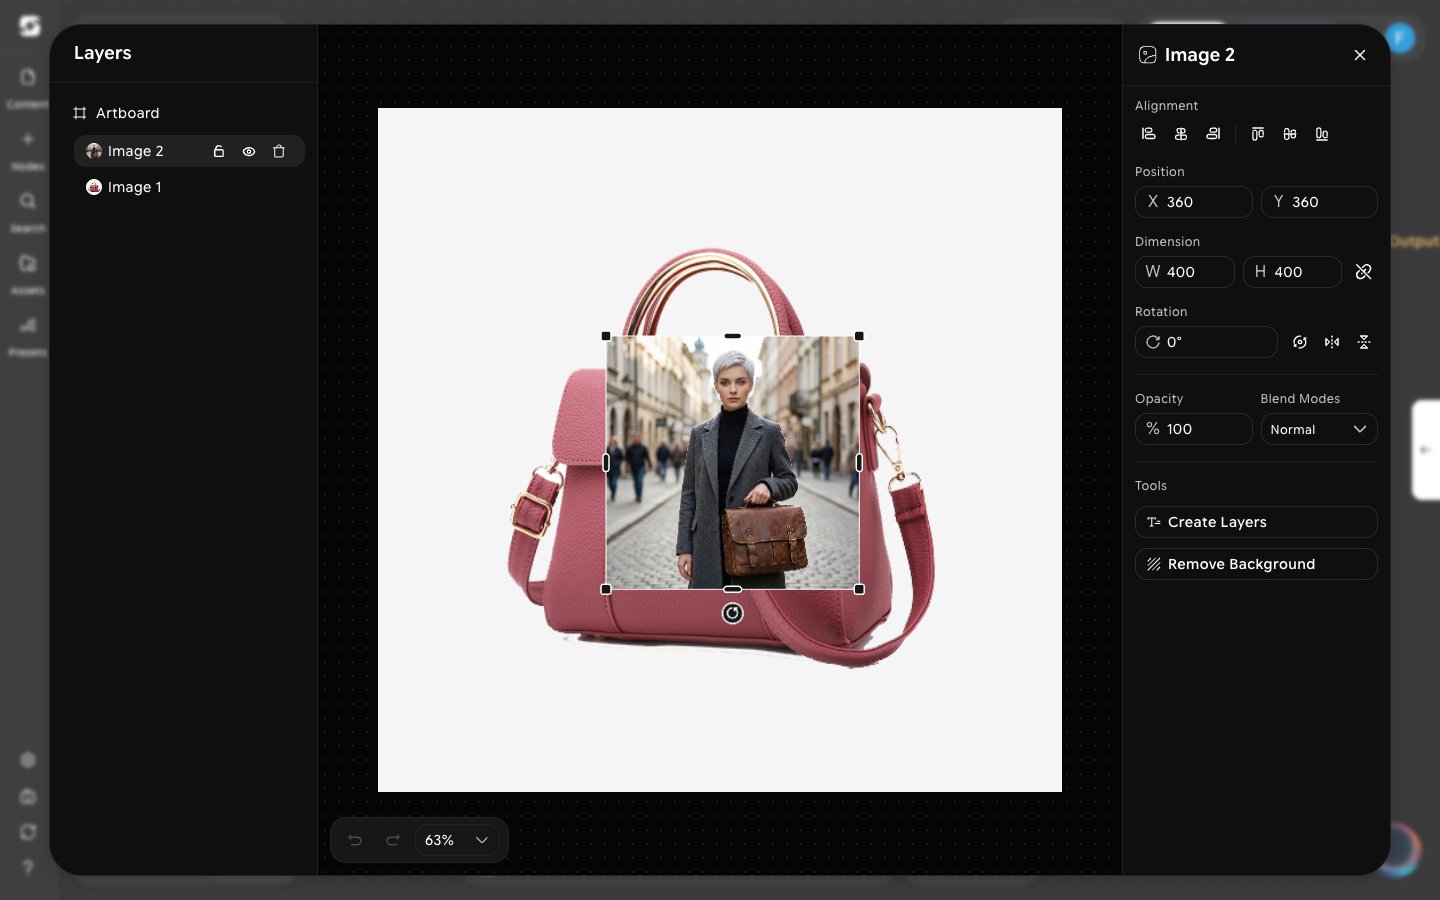
 Click **Edit Layers** on the node to open the layer editor. Select a layer in the **Layers** list to set its **Position**, **Dimension**, **Rotation**, **Opacity**, and **Blend Modes** in the right panel. Drag layers up or down in the list to change their stacking order.
Select **Artboard** to set the output dimensions, artboard size, and background color.
Click **Edit Layers** on the node to open the layer editor. Select a layer in the **Layers** list to set its **Position**, **Dimension**, **Rotation**, **Opacity**, and **Blend Modes** in the right panel. Drag layers up or down in the list to change their stacking order.
Select **Artboard** to set the output dimensions, artboard size, and background color.
 Connect the Compositor's output handle to any downstream node that accepts an image, including another Compositor for more complex compositions.
The Compositor has no **Run** button. Its preview updates live as you connect inputs or change layers, so the node always shows the current composited output.
Connect the Compositor's output handle to any downstream node that accepts an image, including another Compositor for more complex compositions.
The Compositor has no **Run** button. Its preview updates live as you connect inputs or change layers, so the node always shows the current composited output.
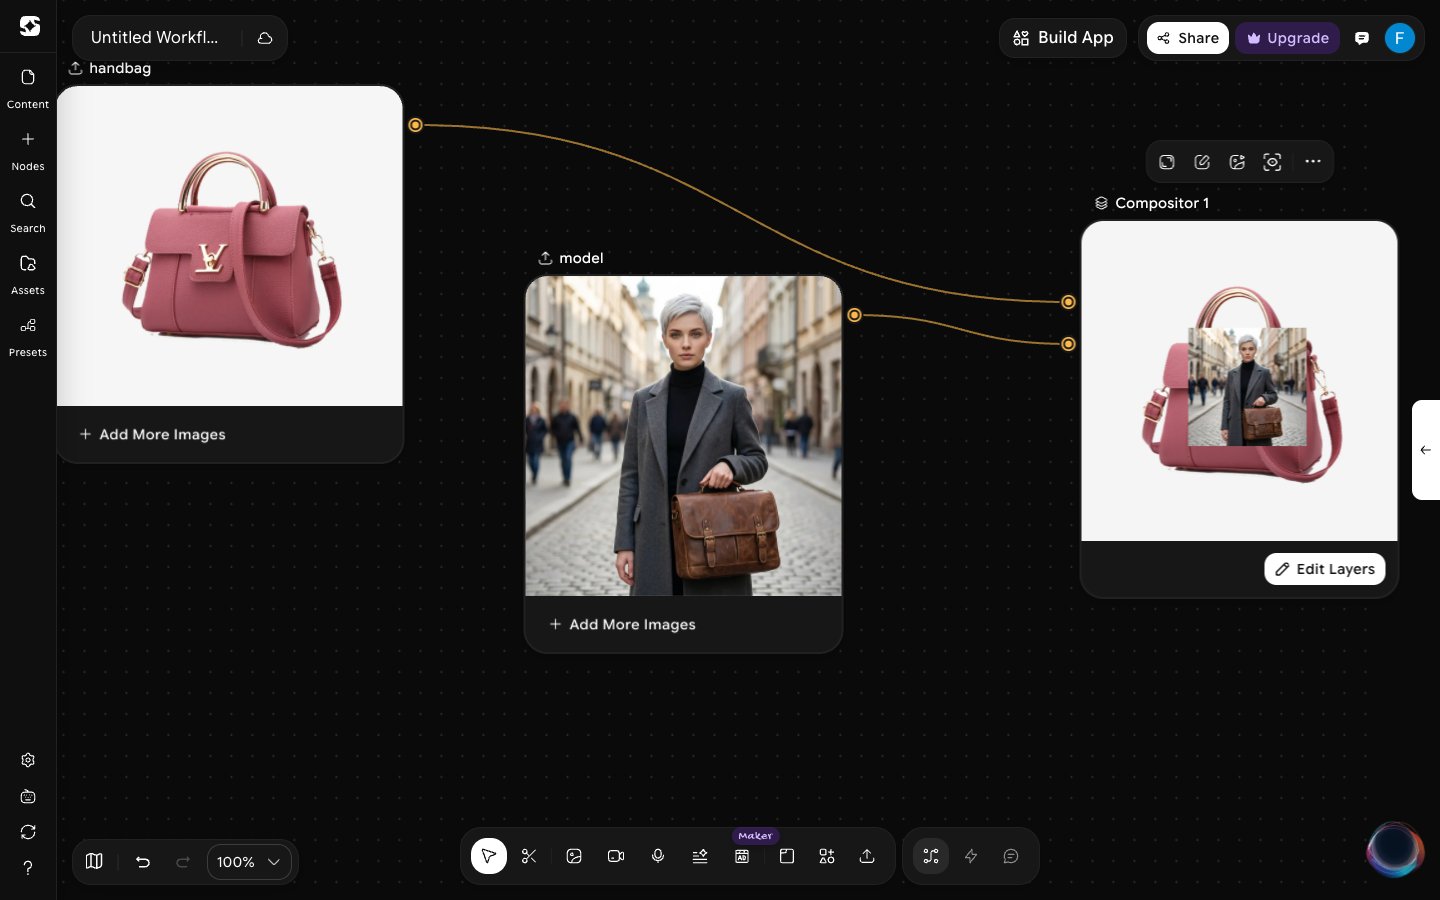 ## Supported inputs
The Compositor takes image inputs. Connect images from any image node, such as an upload or a generation node. Each connected image becomes a separate layer.
Use the Compositor to stitch together outputs from separate generation pipelines before passing them to a final export or post-processing node.
This documentation is built and hosted on [Mintlify](https://mintlify.com), a developer documentation platform.
## Supported inputs
The Compositor takes image inputs. Connect images from any image node, such as an upload or a generation node. Each connected image becomes a separate layer.
Use the Compositor to stitch together outputs from separate generation pipelines before passing them to a final export or post-processing node.
This documentation is built and hosted on [Mintlify](https://mintlify.com), a developer documentation platform.